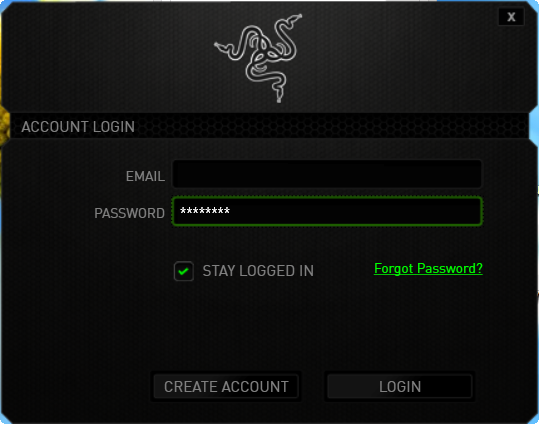
After installing the Razer Synapse 2.0 framework, we will be welcomed by the Account Login screen which will ask for our details; if we do not have one created yet, it will be possible right from the interface:
When the login has been completed successfully, the program will start downloading automatically the rest of the necessary files and will perform the installation automatically:

As we have been accustomed before, the Razer Synapse 2.0 shows a re-modeled GUI depending on which peripheral is connected. On the left side we will find the profile creator and selector, the button for linking a program to a specific profile and in the middle we have the ability to assign custom functions to the mouse buttons:


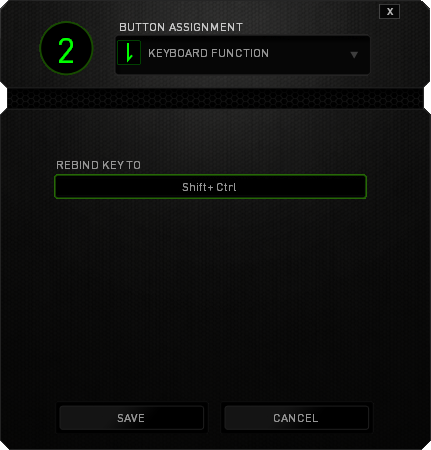
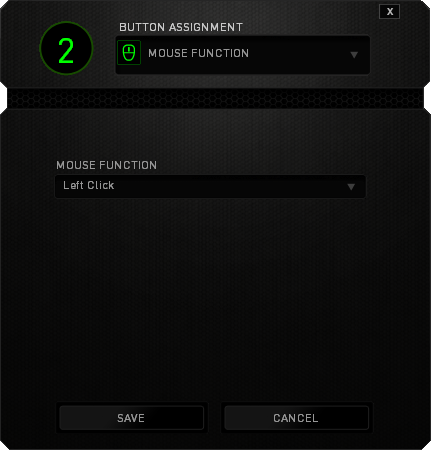
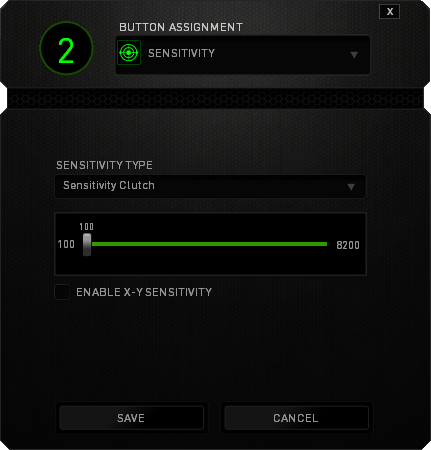
When clicking on each button, a new dialog box will appear with a drop-down menu which will ask us which type of action should be programmed to it:

Here are some example functions that we can assign to the programmable buttons:
Keyboard Function
Mouse Function
Sensitivity
Program/Website Launch

Multimedia Functions