Data on performance:Since we now already know that this particular timing influences the stability of the memory overclock, we now focus on the effect in performance. As you all know, the higher a memory timing is set, the less performance you have. Why? To make it simple: the higher the value, the longer you have to wait for the command (controlled by that timing) can be issued. The lower the value, the shorter the waiting period, thus the faster the command is issued.
We used Superpi 32M and Lavalys Everest to show the performance differences.

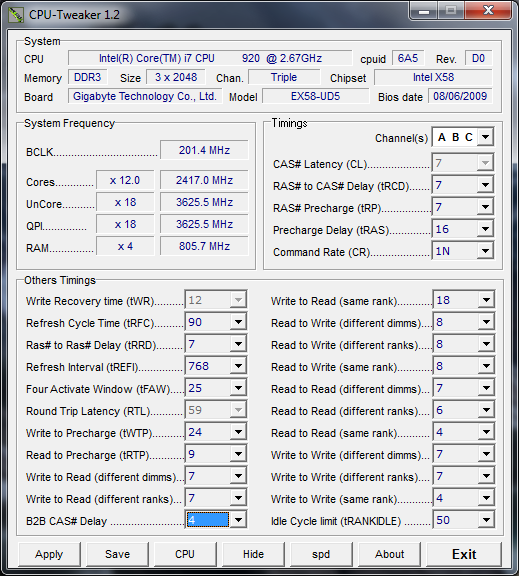
As you can see, a good B2B-setting can mean the difference between a good and a very bad 32M result.

Quite a spectacular decrease in the memory read bandwidth going from 6 to 12 or even 10 to 12.

The memory write bandwidth decrease seems to be more subtile than what we saw in the graph above, but going from 10 to 12 still has quite a big effect on the performance.

Very big decrease in performance, once again!

As you can see, this timing has nothing to do with the latency of the memory, but only with the bandwidth throughput.
Findings:When going over the different graphs, it's more than clear that this timing has a dramatic effect on the performance. More specificly, on the memory bandwidth. Underneath you find an overview of the effect of the different aspects of tuning the memory subsystem on the different benchmarks.
Memory frequency: 1600CL7 versus 2000CL7
Cas Latency: 2000CL9 versus 2000CL7
Back-to-Back Cas Delay: 1600CL7_12 versus 1600CL7_6

Basicly, I calculated the effect of changing on of the three variables of the tests in above section. Each set of bars represent the effect of the three variables in a certain benchmark. The longer the bar is, the more effect a variable has in this specific test.
Another way of looking at this would be to find a match of low-clock and high-clock settings in terms of performance:

Most interesting result is of course the 'LE - copy' result as 1600CL8 can outperform 2000CL7. Who needs high frequency memory anyway?


Q: "On page 1 it sounds like no matter what setting you use, its not stable."
A: No, what I say on page 1 is that one of the weird characteristics of the issue is that the instability doesn't scale. So, it's not because you'd raise the timing by one that you'll get a more stable system by definition. I tried from 0 upto 10 and every single setting was equally unstable: 2M no problem, 4M crash after 1 or 2 loops. The non-scaling characteristic is also shown at the point where it gets stable: at 11 I couldn't do 4M, at 12 I could do anything.
Q: "So you mean, at some point losening up b2b doesnt improve stability, that memory speed is simply unstable and changing b2b doesnt change that."
A: That's something I forgot to mention in the article, well, at least forgot to mention explicitly. It's indeed true that the instability is only under load ... and apparently not under all load. As the article states: 2M was completely stable, copying files also ... 4M crashed after 2 loops or so.
But, changing the B2B value definitly helps to get more stability, no doubt about that. The problem is that it doesn't scale like you'd expect. For instance, tRas you can increase by one and make it more stable. With B2B, that's not the case: it's either fully stable or half 'n' half.
Eg:
0 - unstable
4 - unstable
8 - unstable
9 - unstable
10 - stable
11 - stable
So, 0 would be equally unstable as 9.
Q: "I don't understand the Performance scaling graph on page two"
A: I have had a colleague ask me about the graph as well, haha. Basicly, I calculated the effect of changing each variable in the different test. The longer the bar, the more effect a certain variable has in that particular test. It's a different representation of the 5 other performance charts. I thought it would be more clear, but apparently the opposite is true. So, for instance, in the Everest-Copy benchmark, the B2B timing has the most effect.
Q: "I find the title very misleading, i like the article but its not at all what i expected to find with that title"
A: Sorry about that